Light is all around us. Our brains are CPU's, processing mostly light signals. Simulating some lighting effects in 3D applications is not a trivial task. Fortunately, some effects can be simulated dynamically with relatively small computing power with a pretty satisfactory result.
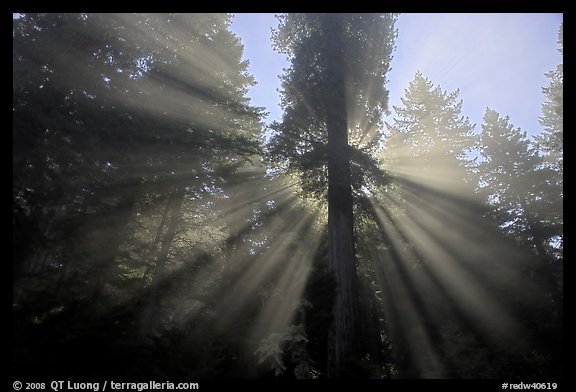
As I already have all the necessary ingredients as a side effect of possessing a deferred renderer, I tried to used them to make a simple light-shaft effect. This lighting effect appears when light travels trough a foggy, dusty, full of small particles medium like air, water or pure industrial smog. The shadow of objects blocking light become visible not only on shaded surfaces, but also on the medium. These are so called light-shafts, God Rays or whatever you like to call them.
Several approaches to achieve this effect exists in real-time applications and games. Some of them render bright parts of the scene into a small render target, then blur the resulting bright pixels towards the light 2D position and blend the result with the final frame buffer.
Having access to the scene depth buffer and light depth buffer, there is a simple technique that could be used to achieve similar results without presenting the limitations that the above technique suffers.
Trace a ray, starting from eye position in world space toward the scene for every pixel on the scene. This could be optimized greatly by downscaling, bluring and upscaling.
Advance the ray position by a small step and for every step, check to see if that world position can see the light. If it can see it, make it a bit brighter for every step, thus accumulating light and make it appear as small airborne particles reflect more and more light toward the observers eye. For the most part, there are 2 precision aspects you may be concerned. The one is the precision you sample the scene -i.e. do you need to sample the scene for every pixel or "sparse" it a bit, or even do it on a downscaled target. And the second one is how big are your steps toward the scene, and haw many samples you take per ray. In the example bellow I make 64 steps per ray.
Warning HLSL ahead, but the code is pretty simple and it doesn't use advance modern features, so it should be doable in every old version of most shading languages.
   float3 currentTestWorldPos = eyePos ; //start with eye's position
   float3 currentRayDir = normalize(vWorldPos.xyz - eyePos) * 2.0f ; //scale it a bit. This can step 2 units further //for every step, from eye position to current pixel position in world space.


  for(int i = 0 ; i < 64 ; i++ )
  {
        currentTestWorldPos += currentRayDir ; //advance further

  float3 currentLightDirection = currentTestWorldPos - c_vLightPos.xyz  ; // optain direction to light source for every //test position
  float currentDistance = length(currentLightDirection.xyz);
  currentLightDirection.xyz = currentLightDirection.xyz / currentDistance; //normalize

   //sample depth from cubic shadow map
     float currentshadowMapDepth = texCUBE(cubeShadowMapSampler, float4((currentLightDirection.xyz), 0.0f)).x;
  //depth comparison
  if(currentDistance  < (currentshadowMapDepth + 1 ))
  {
    color *= 1.07f; //make it a bit brighter
  }

           //not really necessary, but could be useful in some situations to add contrast.
           else { color *= 0.98f; }//make it a bit darker
  }
Here is how it looks statically and dynamically